
How to set up your free Google Business Profile, step by step
It's what people see when they look up your business on Google: your hours, phone number, photos and reviews. Here's how to set it up, using Google's own instructions.
By the numbers
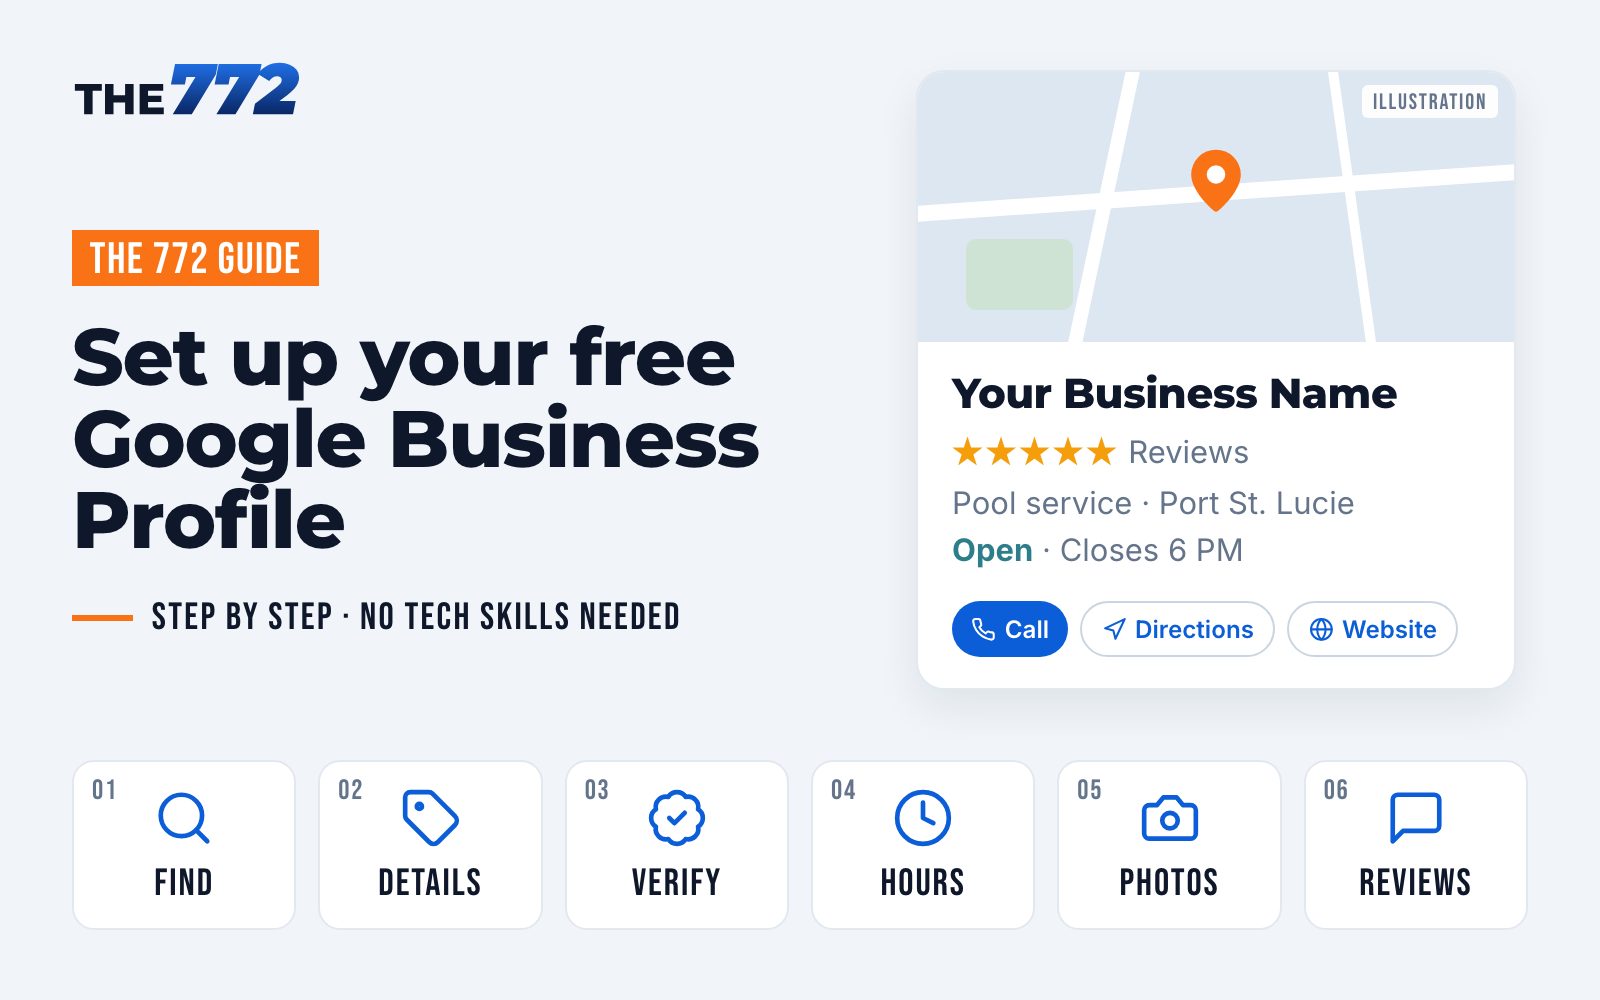
Look up almost any shop on Google and a box pops up with its hours, phone number, photos and reviews. Google calls that a Business Profile.
It’s free. Google says you can add or claim your business at no charge. Your business might even have one already, even if you never set it up. If it does, you claim it instead of starting over.
This guide walks you through it in 6 steps. Every step comes from Google’s own help pages, listed at the bottom. The screens in this guide are simple drawings, so the real ones will look a little different.
Before you start
Have these ready:
- A Google account. A Gmail address works. Google says other email addresses work too.
- Your business name, written exactly like it is on your sign.
- Your address. If you drive to your customers instead, like a lawn crew or a mobile detailer, have a list of the towns you serve.
- Your phone number, and your website if you have one.
- Your hours for a normal week.
A computer is easiest for most of this. Keep your phone close, because Google may ask you to verify with it.
Step 1. Find your business, or add it
- On a computer, open Google Maps.
- Search your business name and town. Example: Your Business Name, Port St. Lucie.
- If your business shows up with a Claim this business button, click it. Then click Manage now.
- If it doesn’t show up, go to business.google.com/add and click Add your business to Google. Follow the steps on the screen.
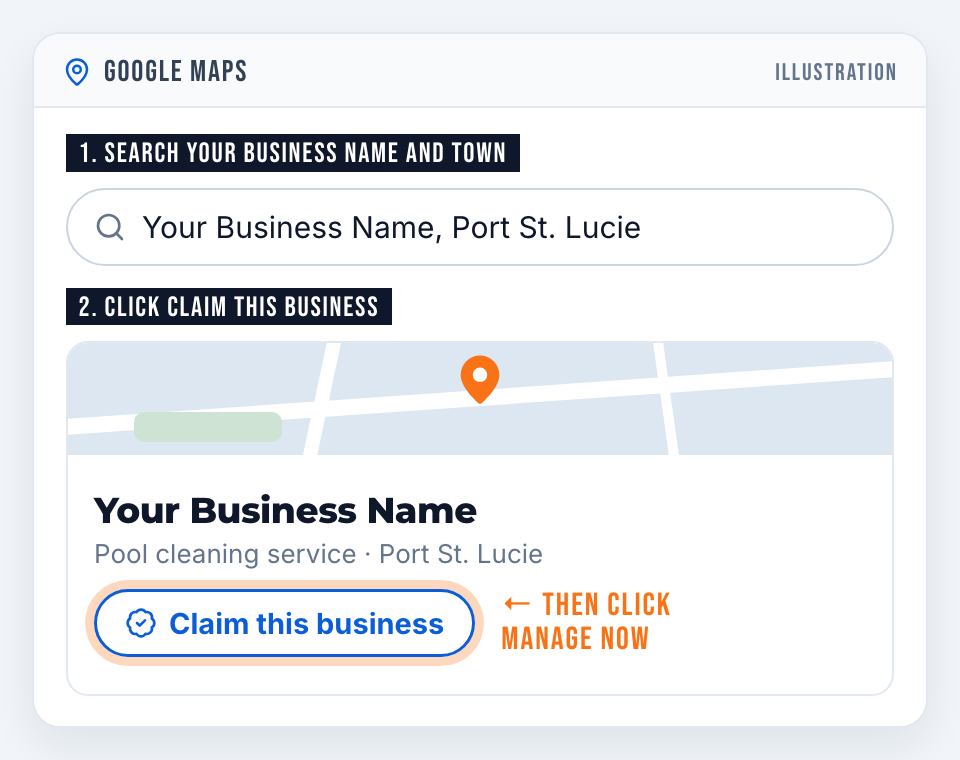
Good to know: If someone else already verified your profile, like a past manager or a company you hired, Google lets you request ownership. If you can’t find a Claim button at all, you might already own it under a different Google account.
Step 2. Fill in your details
Google walks you through this one screen at a time. Here’s what matters most.
Your name. Use your real business name, exactly like your sign. Don’t add extras like “Best AC Repair in Stuart” or “Open 24 Hours.” Google doesn’t allow it, and it can get your profile suspended.
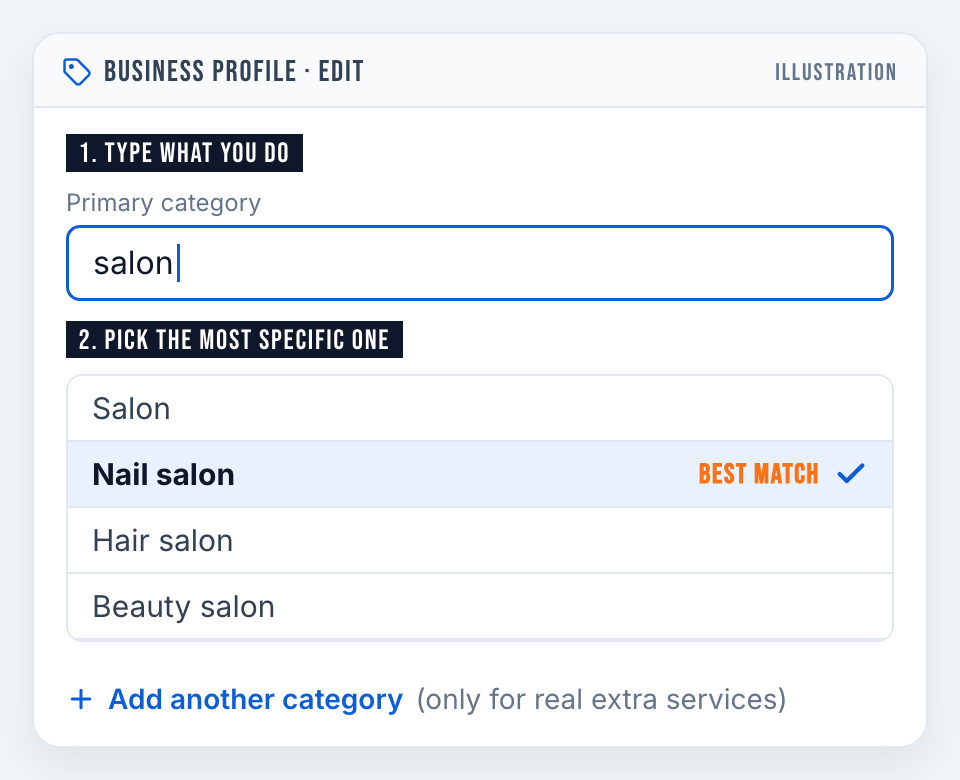
Your category. This is the kind of business you are. Google says your categories affect where you show up in local results.
- Type what you do in the Primary category box.
- Pick the most specific match from the list. Google’s own example: choose “Nail salon,” not just “Salon.”
- If nothing fits, pick a more general one. You can’t make up your own.
- You can add a few more categories for other real services. A grocery store with a deli could add “Deli.” Don’t add one for every product you sell.
Your address or service area. If customers come to you, add your address. If you only go to them, like a pool service or a mobile mechanic, Google says to hide your address and list the areas you serve. If you do both, you can show both.
Your phone and website. Use a phone number that rings at your business. Google prefers a local number over a call center.
Good to know: If you change your category later, Google may ask you to verify again. Take a minute to get it right the first time.
Step 3. Prove it’s really yours
Google calls this verifying. You need to do it before you can edit your hours or answer reviews.
Google picks your options. You can’t choose them. They depend on your type of business, where you are and your hours. You might see one or more of these:
- Phone or text. Google sends you a code. Answer the call yourself, because a phone menu can’t take the code.
- Email. Follow the steps in the email Google sends.
- Video recording. You record a short video of your business on your phone. If you get this option, Google recommends it.
- Live video call. You show your business to a Google rep on camera. This only works during your business hours.
- Postcard. Google mails a code to your address. Google says most codes arrive within 14 days.
For a live video call, Google suggests being ready to show where you are (your sign or a street sign), your business (your products, tools or branded truck) and proof you run it (opening up with your keys, the register or a back room). For a recorded video, Google tells you on the screen what to show.
Waiting on a postcard? Don’t change your name, address or category while you wait. Don’t ask for a new code either, because that cancels the one in the mail. Codes expire after 30 days.
When you’re done, Google checks your info. Google says that takes up to 5 business days. You’ll get an email when you’re verified.
Good to know: Google will never ask you for your verification code. If someone calls and asks for it, hang up.
Step 4. Set your hours, including holidays and storms
Your regular hours:
- Go to business.google.com and open your profile.
- Click Edit profile, then Hours.
- Next to “Hours,” click the pencil, then choose Open with main hours.
- Check each day you’re open and set the times.
- Click Save.
Close in the middle of the day? Add two sets of hours for that day, like 9 AM to 2 PM and 5 PM to 10 PM.
Holidays and storm days (Special hours):
Use this when you’re closed, or open different hours, for a short time. Google says it’s for closings of 6 days in a row or less.
- In Edit profile, go to Hours.
- Next to “Special hours,” click the pencil.
- Pick the date. Google may suggest upcoming holidays. You can also click Add a date.
- Check Closed. Or uncheck it and set the hours you’ll be open.
- Click Save.
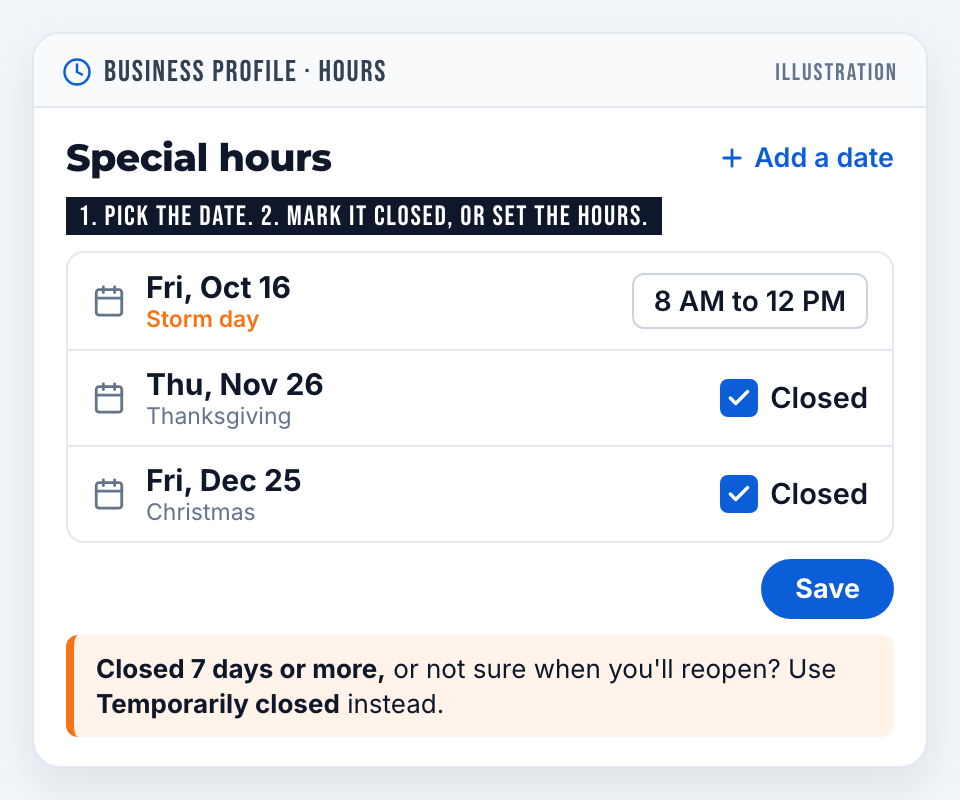
Closed for a week or more? If a storm or anything else closes you for 7 days or more, or you don’t know when you’ll reopen, Google says to mark your business Temporarily closed instead. When you reopen, set your regular hours again. Seasonal businesses can do the same thing in the off-season.
Google’s tip: Confirm your hours for official holidays, even if they’re the same as usual. That tells customers your hours are right.
Good to know: Special hours only show up if your regular hours are set to “Open with main hours.”
Step 5. Add real photos
Your photos show up after you’re verified.
- Go to business.google.com and open your profile.
- Click Photos, then Add photos. You can pick more than one at a time.
- For your logo or a cover photo, click Photos, then Add a logo or Add a cover photo.
You can also add photos from the Google Maps app on your phone.
What to shoot. Google suggests at least:
- 3 outside photos, taken from each direction people pull up. Try a few times of day. Google says outside photos help customers recognize your business when they visit.
- 3 inside photos that show what it’s like to walk in.
- 3 photos of your products, or 3 of your team at work if you sell a service. Restaurants should add 3 of their food and drinks.
- 3 photos of you and your team. Google says it shows a more personal side of your business.
Google’s photo rules: Use JPG or PNG. Keep photos in focus and well lit. No heavy filters or AI edits. The photo should look like the real place.
Step 6. Answer your reviews
Anyone can read your replies, not just the customer who left the review.
- Go to business.google.com and open your profile.
- Click Read reviews.
- Next to a review, click Reply.
- Type your reply and click Reply again.
You can edit or delete a reply later.
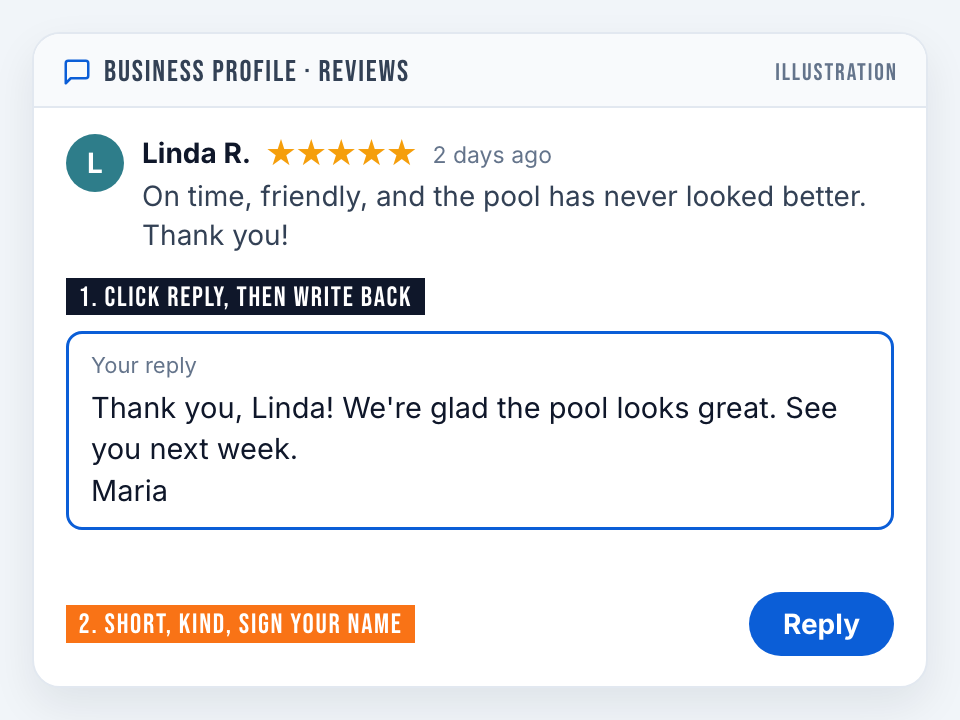
Google’s own tips for replies:
- Keep it short and polite.
- Use their name, and sign yours. “Thank you, Linda!” and end with your name.
- Make it about what they said. Don’t paste the same thank-you on every review.
- Don’t use it to sell. Leave coupons and deals out of your replies.
- For a bad review, don’t argue, and never share the customer’s private details. Ask them to call or email you so you can fix it.
- Reply soon. A quick answer shows you care.
Stuck on what to write? Our guide 5 simple ways Claude can help your local business shows how to get a free AI helper to write a first draft. Read it and make it sound like you before you post it.
Good to know: Never offer a discount or a freebie for a review, or to change a bad one. Google says that’s against its rules. You can still ask happy customers for a review. Google gives you a link and a QR code to share. If a review breaks Google’s rules, you can report it.
Watch out for fake “Google” calls
Some callers say they work “with Google” or “for Google” and try to sell you marketing. Google has a help page about these calls. Here’s what it says:
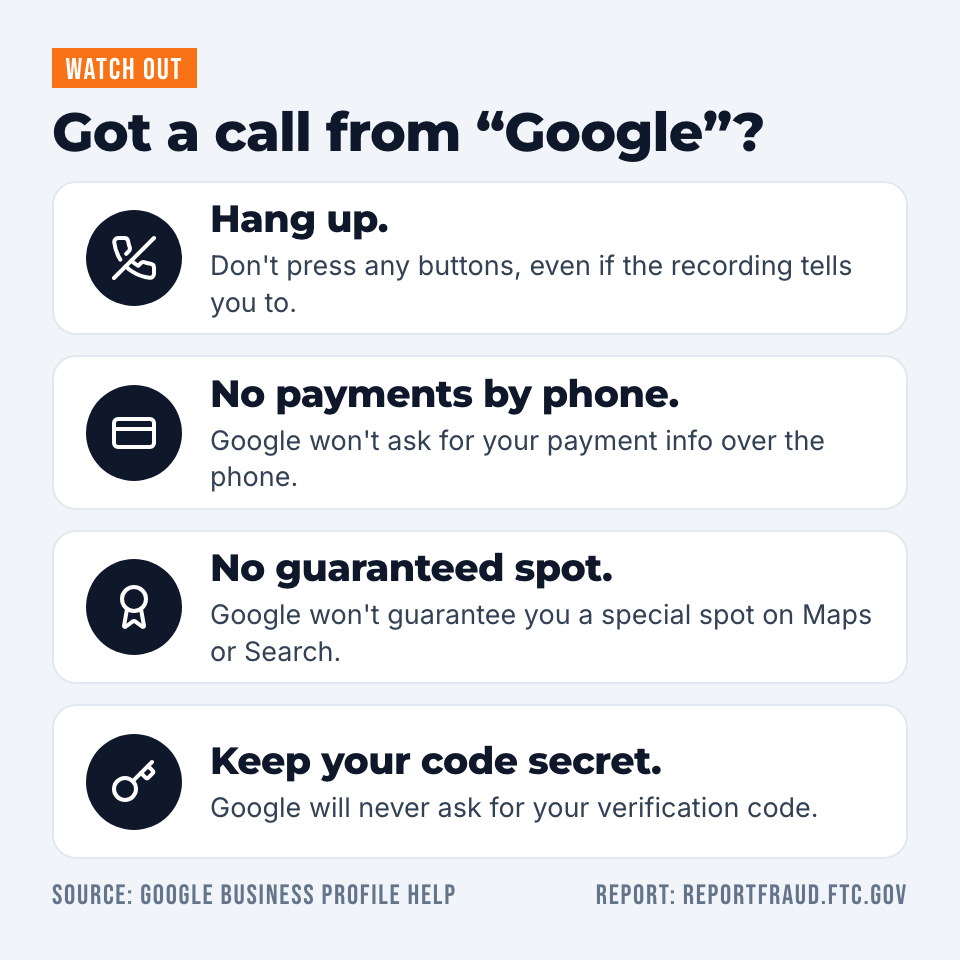
- Real Google calls say they’re from Google and why, like an automated call to check your hours.
- Google won’t ask for your payment info over the phone.
- Google won’t guarantee you a special spot on Maps or Search.
- You won’t be asked to sign up, pay or give personal info on these calls.
- Google will never ask for your verification code.
If someone pretends to be Google, hang up. Don’t press any buttons, even if the recording tells you to. Google says pressing buttons might lead to more of these calls.
To report a fake call, use Google’s complaint form or the FTC at ReportFraud.ftc.gov. You can also add your number to the Do Not Call Registry. Forward scam texts to 7726.
And keep this in mind: Google doesn’t charge you to add or claim your profile.
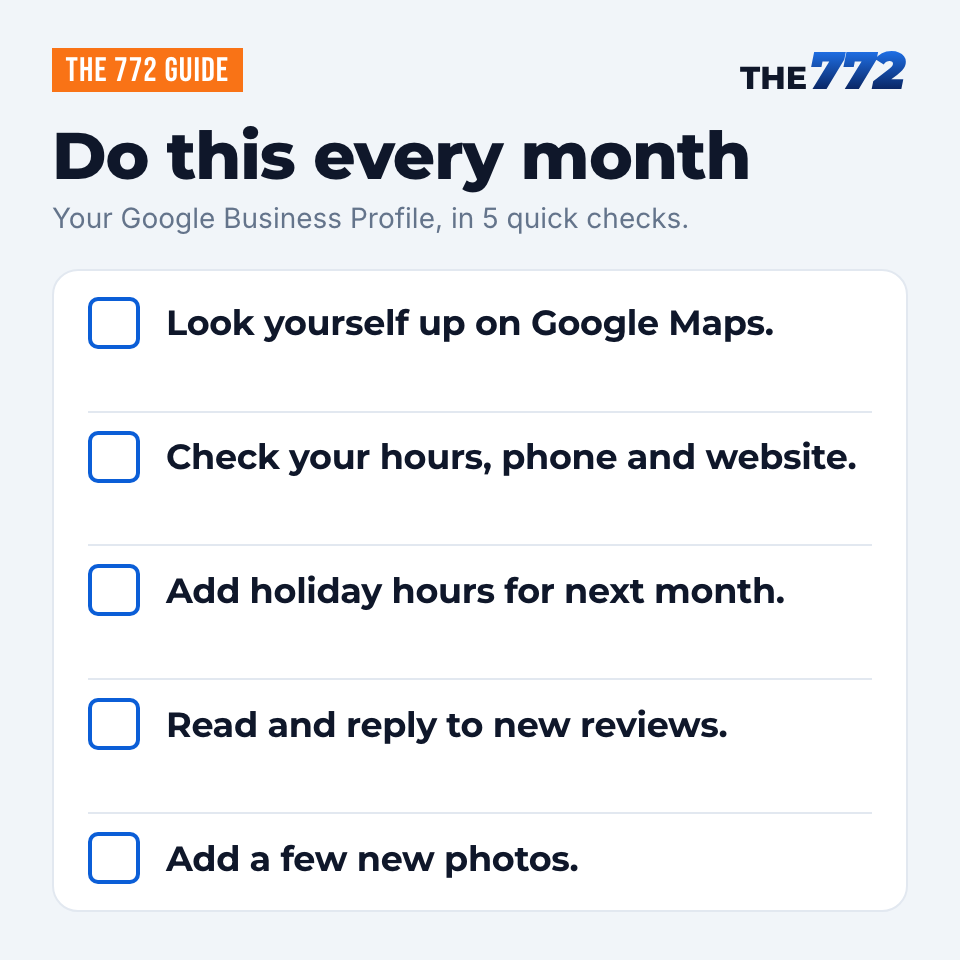
Do this every month
Set a reminder on your phone for the first of the month.
- Look yourself up on Google Maps, the way a customer would.
- Check your hours, phone number and website.
- Add special hours for next month’s holidays.
- Read and reply to new reviews.
- Add a few new photos.
Start with Step 1
Open Google Maps tonight and search for your business, the way a customer would. If something there is wrong or missing, start with that.
Have a question this guide didn’t answer? Send us a DM @the772fl. We may answer it in a future guide.
THE 772 isn’t affiliated with Google and wasn’t paid for this guide.
Sources
All from Google Business Profile Help, checked Oct. 7, 2026:
- Add or claim your Business Profile
- Request ownership of a Business Profile
- Verify your business on Google
- Verify your business with a video recording
- Guidelines for representing your business on Google
- Manage your business category
- Edit your business hours
- How to set Special hours
- Mark your business as closed
- Manage your Business Profile photos and videos
- Tips for business-specific photos
- Manage customer reviews
- Tips to get more reviews
- Help protect against fraudulent calls and texts